50YEARS
Experience behind every idea.
Our team's adhesive expertise brings 50 years of experience into the conversation — connecting chemistry with the realities of production.
 ADHESIVE PIONEERS
OYTI COMPETENCE CENTER
Better bonding starts with a deeper understanding. Of the chemistry. Of the materials. And of your process.
Our team's adhesive expertise brings 50 years of experience into the conversation — connecting chemistry with the realities of production.
Experience in patent development and collaborative innovation turns technical insight into new approaches to bonding.
Collaboration with major chemical manufacturers, including joint development and patent work, brings different expertise to the same challenge.
OYTI COMPETENCE CENTER / APPLICATION ADVISOR
Build a combination of two or three materials. Add your technical targets, then explore the process for each bond.
Enable JavaScript to use the advisor, or email our team with your materials and application requirements.
02 / KNOWLEDGE LIBRARY
Clear explanations and practical questions to bring to your next material discussion or production trial.
23 guides to explore
MATERIALS · 5 GUIDES
The material name is only the starting point.
 MATERIAL STUDY / 01
Inspect the actual side being bonded: its texture, condition and preparation.
Record coatings, treatments and contamination separately from the base material.
Assess contact and wetting on the actual construction, then examine the separated bond.
Coatings, print, release agents, dust and surface treatments can make two apparently similar materials behave differently. Porosity and roughness also affect adhesive distribution and the amount remaining at the interface.
Identify the bonding side and send representative material from production. Include supplier references and any treatment or cleaning steps. Keep an untreated reference where possible and agree preparation with the material and adhesive suppliers.
Build your application briefMap the interfaces before choosing the process.
Review absorbency, contact and loading between the first two layers.
Assess the lower interface, then test the complete three-layer construction.
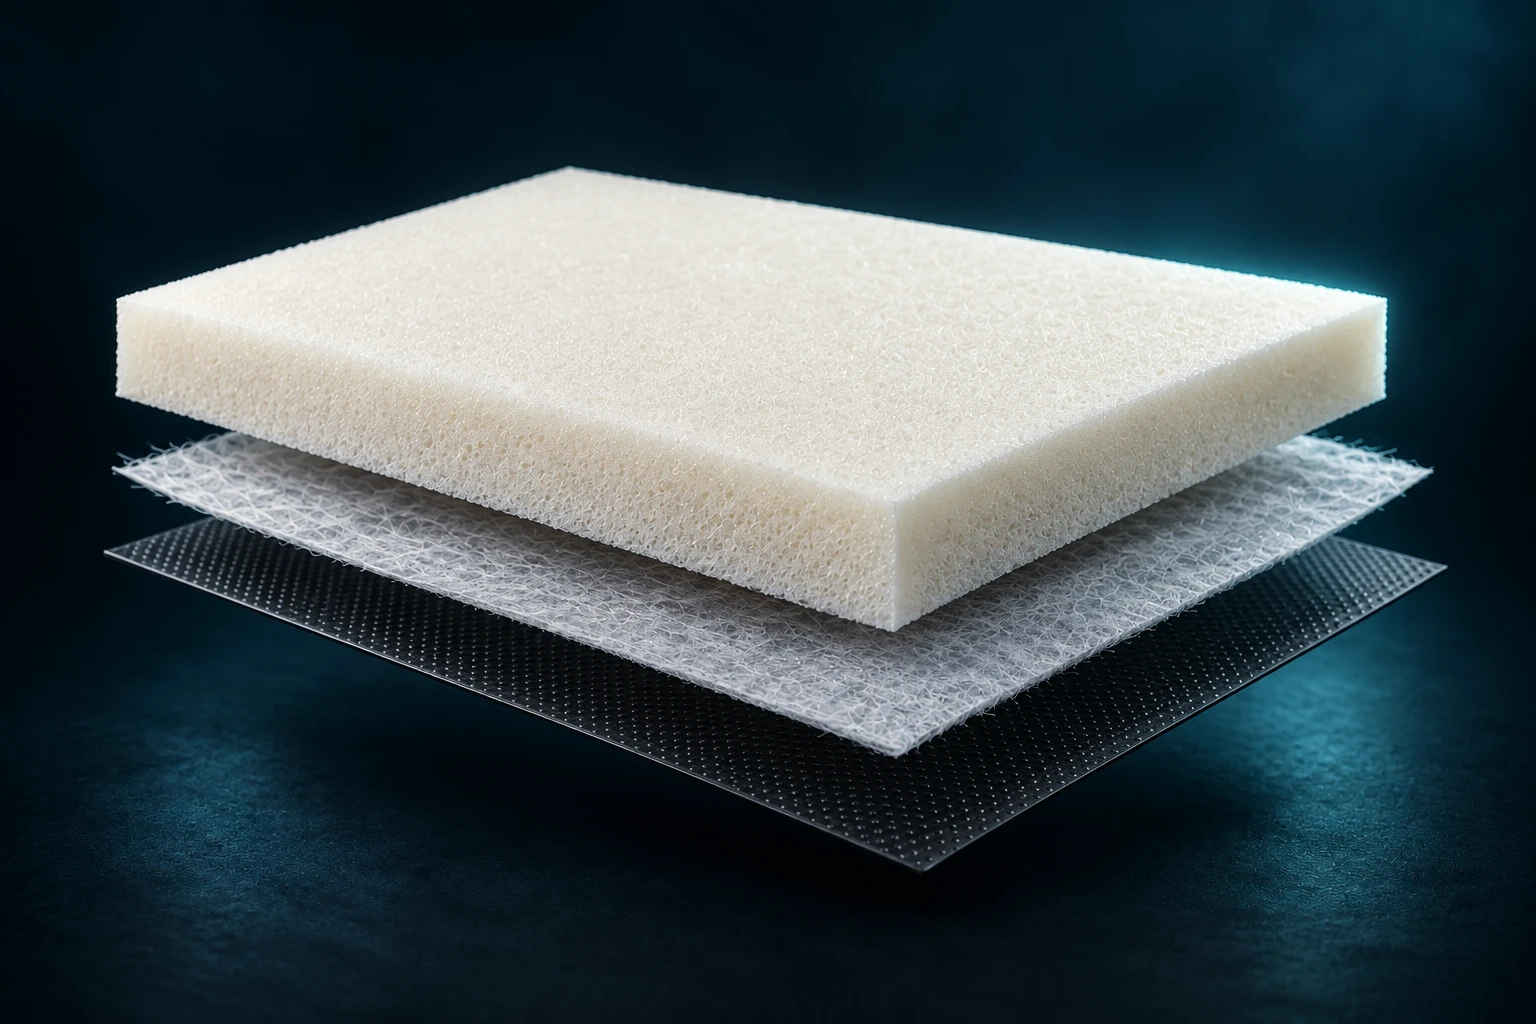
In a foam / nonwoven / carrier stack there are two adjacent interfaces. They may differ in absorbency, flexibility and exposure. One adhesive or application method should not be assumed to suit the complete stack.
Select materials in their bonding order. Describe any edge joints, wrapping or non-adjacent contact separately. Review each interface and then test the assembled component, including the stresses introduced during manufacture.
Build your application briefKeep the requirement clear and the claim specific.
Confirm the requirement for the selected adhesive. Latex-free alone does not establish recyclability.
If latex-free bonding is required, include it explicitly in the material brief and request confirmation for the selected adhesive. Do not infer adhesive composition from terms such as water-based.
Material compatibility is one part of a monomaterial development project. Coatings, additives and the intended recovery process also matter. A latex-free requirement alone does not establish recyclability; assess the finished construction and the relevant recovery route.
Build your application briefConsider where the adhesive goes.
Check that adhesive remains available at the joining surface.
A closed surface still needs suitable preparation and adhesive compatibility.
Foams, textiles and papers can absorb adhesive differently from films and rigid carriers. Note whether the adhesive remains available at the joining surface and whether the material is compressed during assembly.
Compare the same material side, preparation and coat weight. Record visible penetration or strike-through, the bond-line feel and the failure appearance. Describe coatings and finishes separately.
Build your application briefEvaluate the assembled component.
Assess bending, compression and recovery on the complete bonded component.
A soft substrate can still develop a noticeable bond line. Assess bending, compression and recovery on the bonded construction rather than using adhesive hardness as the only selection criterion.
Prepare reference and trial assemblies with a repeatable adhesive pattern. Include handling, repeated movement or compression that reflects the product’s use; agree what is considered acceptable.
Build your application briefPROCESS · 5 GUIDES
Three different moments in the bonding process.
Record the application conditions and the usable joining window.
Bring the surfaces into contact within the specified process window.
Confirm sufficient initial hold before the next production step.
Open time describes the usable joining window after application. Setting time concerns the development of enough hold for the next production step. Initial hold does not, by itself, describe long-term performance.
Record the time from application to joining and from joining to handling. Note substrate temperature, adhesive pattern and the pressure applied. Test with the actual production sequence rather than a single isolated time value.
Build your application briefAdhesive placement is part of the design.
Assess bead placement, joining time and contact along the path.
Evaluate spacing and distribution across the assembled part.
Match coverage, material feel and equipment to the application.
Review coat weight, uniformity and wetting on the carrier.
Beads place adhesive along a path; dots concentrate it at selected points. Spray distributes it over an area, while coating creates a controlled layer on a carrier. Availability depends on the adhesive and equipment.
Discuss coverage, flexibility, joining pressure and production speed together. Record coat weight and inspect distribution. More adhesive does not automatically solve poor contact or unsuitable joining timing.
Build your application briefBring the adhesive, materials and joining sequence together.
Consider the adhesive, substrate and surroundings.
Use the grade-specific process when evaluating bond development.
Review the drying and joining sequence for the selected system.
Water-based systems require a process suited to their specified application and bond-development behaviour. Do not assume every grade uses the same drying, joining or activation sequence.
Record temperature, humidity, airflow and the absorbency of the materials. Check equipment condition and coverage. For a two-component process, confirm the approved activator and specified feed arrangement; follow the selected product’s instructions.
Build your application briefMake comparisons per bonded area or finished part.
100 m² × 25 g/m² = 2.50 kg
Deposited mass only; excludes process losses. Keep wet and dry coat weights separate. Example inputs are not recommendations.
Record the deposited adhesive mass and bonded area. Distinguish the wet application amount from a dry adhesive amount when comparing water-based and hotmelt processes.
Include overspray, start-up losses and scrap when estimating consumption. Use a defined sampling and weighing procedure; compare bond performance as well as material use.
Build your application briefKeep the important conditions visible.
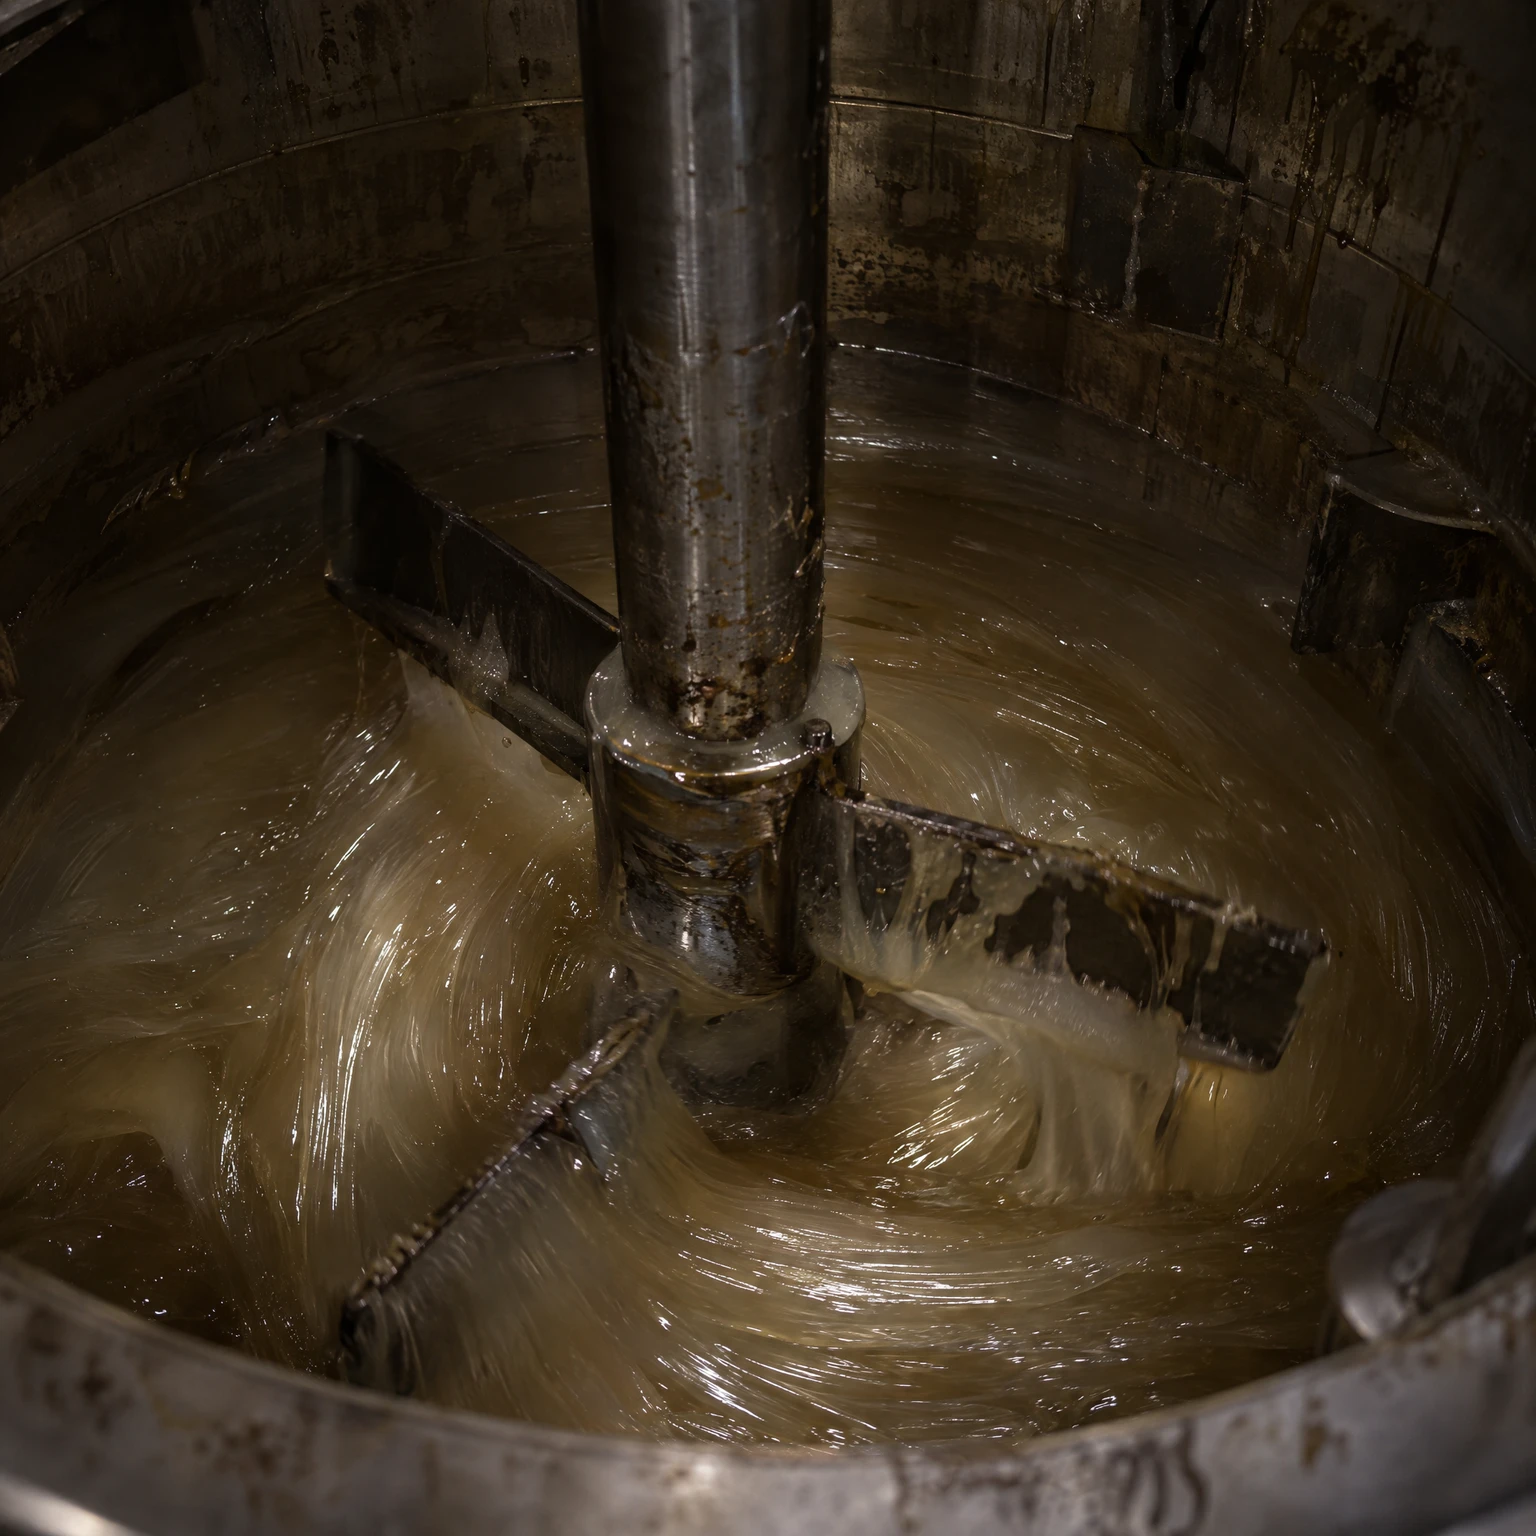 FROM THE BENCH
Carry the material, process settings and acceptance criteria through every stage.
A hand-made sample and a moving production line may differ in substrate temperature, joining delay, pressure and adhesive distribution. Identify those changes before transferring a laboratory result.
Agree a trial window and acceptance criteria. Record start-up and steady operation separately, retain samples and review performance after the required conditioning period.
Build your application briefTESTING · 11 GUIDES
Compare like with like, not just the highest value.
Example force only. Record specimen width, peel angle and speed before comparing results.
A peel test separates bonded materials at a defined angle and speed. Results may be reported as force or force per specimen width. A 90° peel, a 180° peel and a T-peel describe different test arrangements.
Specify materials, width, angle, speed, conditioning and time after bonding. Record whether separation occurs at the interface, within the adhesive or in the substrate. A torn foam or textile changes how a result should be interpreted.
Build your application briefApplication temperature and service temperature answer different questions.
Example target only. Duration, load and the finished joint determine the required test.
The temperature used to process an adhesive does not establish the temperature a finished bond can withstand. A meaningful service requirement includes exposure duration, load, joint geometry and the permitted movement or failure criterion.
Distinguish continuous exposure from short peaks. Include temperature cycling or moisture if relevant to use. Ask for testing on the finished construction under the intended load; do not turn a softening-point value into a service guarantee.
Build your application briefMake a trial repeatable before scaling it up.
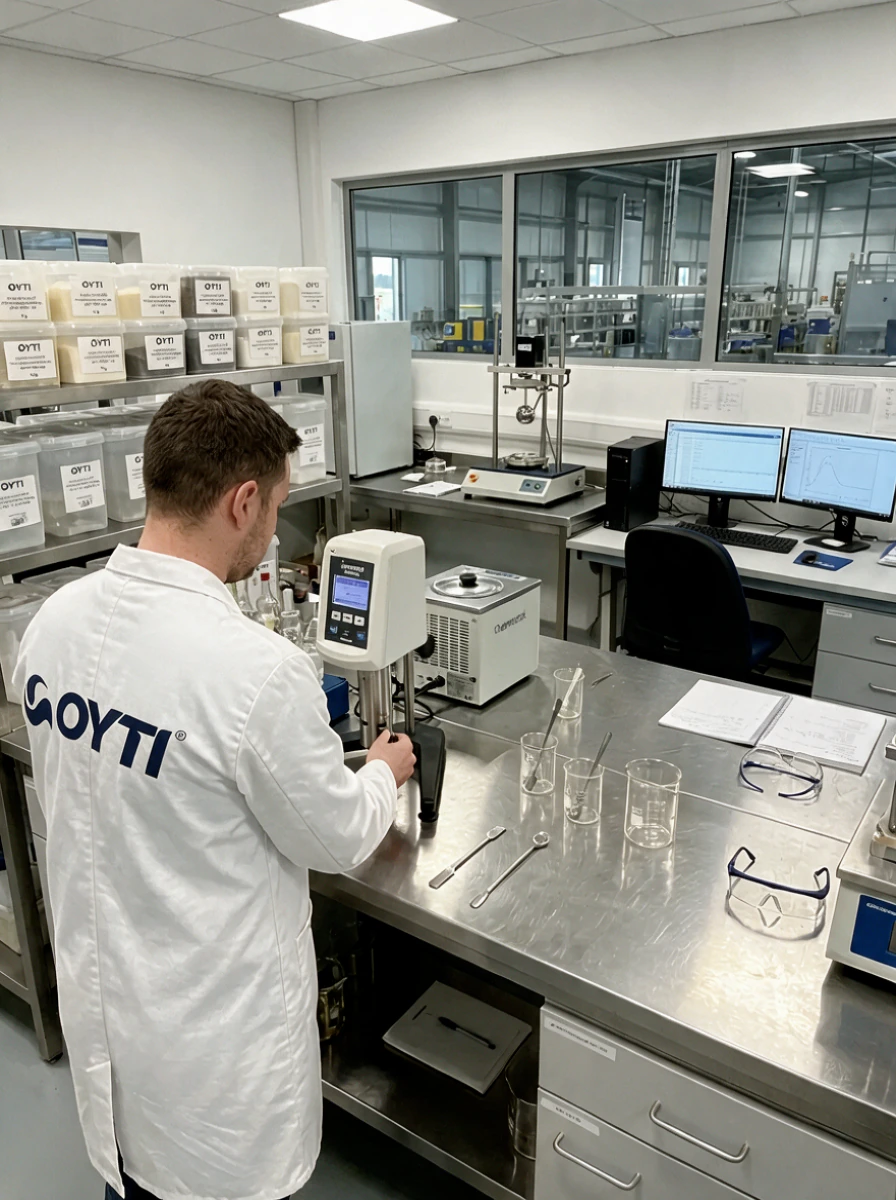 A CLEAR BRIEF.
0 of 3 preparation points checked
Define the finished product, materials and acceptance criteria. Bring representative samples, equipment details and the intended production sequence. Separate must-have targets from preferences.
Record application settings, coat weight, joining time and test conditions. Compare with an agreed reference, including ageing or service exposure where needed. Document both acceptable results and unresolved questions before moving to production.
Build your application briefFlow behaviour at a defined temperature.
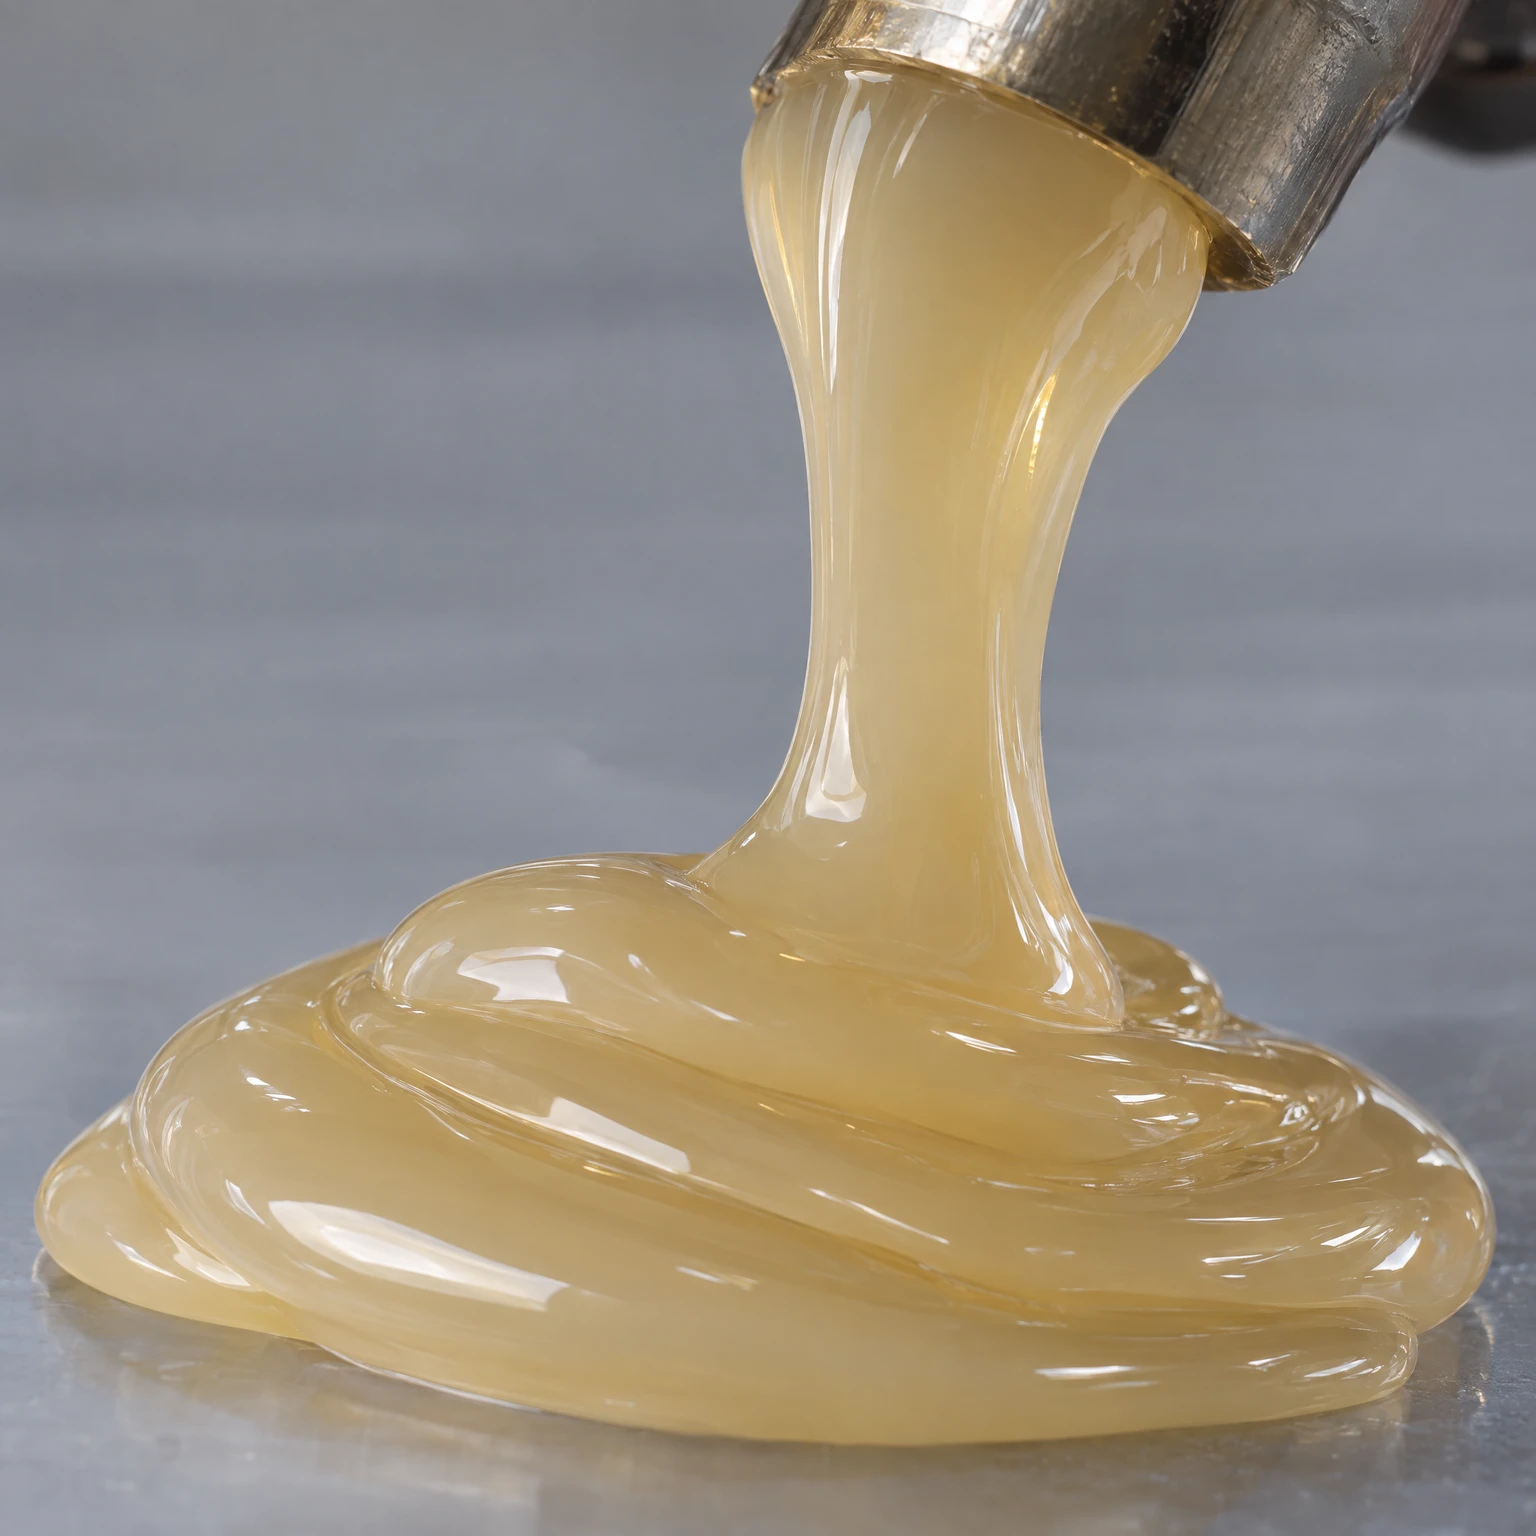
A viscosity value needs its measurement conditions. The image is a material study, not a flow simulation.
ASTM D3236 · reference listed in our laboratory
The Thermosel setup supports viscosity measurement at a defined temperature. Compare results only with the measurement configuration recorded; a viscosity number without temperature and instrument settings is incomplete.
Record sample identity, temperature, spindle, rotational speed and equilibration time. Use the result to discuss processing behaviour alongside coating or spray trials.
Viscosity does not establish adhesion, tack or finished-bond strength.
Discuss the test with our laboratoryFollow a loaded bond through controlled heat exposure.
Illustrative temperature only. No failure result is calculated; load and heating programme must be defined.
Heating chamber · Heat resistance / SAFT
A heating chamber supports defined heat exposure. In a shear adhesion failure temperature investigation, a loaded joint is heated under an agreed programme and its failure point is recorded.
Specify bonded area, substrates, load, heating programme, conditioning and failure criterion. Separate a temperature-ramp test from a fixed-temperature holding test.
A SAFT result is specific to the test arrangement. It is not a continuous service-temperature rating.
Discuss the test with our laboratoryCharacterise softening under a defined procedure.
Illustrative range only. Ring & Ball measures softening, not a universal melting point.
ASTM D36 · reference listed in our laboratory
Ring & Ball provides a method-defined softening result for a suitable material. It helps characterise thermal behaviour and compare samples tested under matching conditions.
Identify the sample and document the preparation and test procedure. Interpret the result together with viscosity and application-specific heat testing.
Softening point is not the same as melting point, application temperature or the heat resistance of a finished bond.
Discuss the test with our laboratoryMeasure force and displacement under controlled loading.
Record specimen dimensions and initial gauge length.
Record speed and conditioning; compare matching test arrangements.
Keep the failure observation alongside force and displacement.
ZWICK · Tensile testing
The tensile testing machine records force and displacement. Specimen geometry and appropriate fixtures determine the test that can be performed on films, tapes or bonded flexible materials.
Record specimen dimensions, gauge length, test speed, conditioning and failure location. For a peel or joint test, agree the necessary grips and geometry with the laboratory first.
Tensile, peel and shear results answer different questions. A force value alone does not make them comparable.
Discuss the test with our laboratoryMeasure resistance to indentation on a suitable specimen.
Assess a suitable specimen. Hardness alone does not describe the finished bond or comfort.
Shore durometer · Appropriate scale required
A durometer measures indentation hardness on a suitable specimen. The selected Shore scale and specimen conditions are essential parts of the reported value.
Record scale, specimen thickness, surface condition, temperature, dwell time and measurement positions. Compare samples using the same preparation and method.
Shore hardness is not a direct measure of bond strength or the comfort of a complete mattress or upholstered assembly.
Discuss the test with our laboratoryCompare initial grab through controlled separation force.
Illustrative force only. Tack and peel measure different behaviour.
Initial tack · Loop separation force
A controlled loop is brought into contact with a test surface and separated. The measured force supports comparisons of pressure-sensitive adhesive samples under a consistent sequence.
Record carrier, coating, test surface, loop geometry, contact sequence, speed and conditioning. Keep the test surface preparation consistent.
Loop tack is not long-term holding power. Pair it with the relevant peel and service-load evaluation.
Discuss the test with our laboratoryCharacterise an optical property of liquid samples.
Control the measurement conditions when comparing an optical property.
Digital refractometer · Liquid samples
A refractometer measures an optical property of a suitable liquid sample. Controlled measurement conditions support consistency checks against an established reference.
Record sample identity, measurement temperature and the instrument procedure. Check the sample and measuring surface condition before comparison.
Refractive index alone does not identify a formulation, establish adhesive performance or provide a universal solids-content value.
Discuss the test with our laboratoryCompare stopping distance on an adhesive surface.
Ramp → contact → stopping distance
Motion is illustrative. The stopping position is not a tack result.
Initial tack · Rolling distance
The ball travels down an inclined track onto an adhesive surface. Its stopping distance gives a comparative result when the setup and sample preparation are held constant.
Record ball and ramp configuration, adhesive layer, substrate, conditioning and surface cleanliness. Compare like-for-like samples.
Do not convert a rolling distance directly into loop-tack or peel force. These tests use different contact and loading conditions.
Discuss the test with our laboratoryTROUBLESHOOTING · 3 GUIDES
Look at both surfaces, not just the force reading.
Separation at an adhesive / material boundary. Inspect both sides.
Separation within the adhesive. Record adhesive remaining on each surface.
Separation within a substrate. Assess what it means for the intended use.
Real specimens can show mixed failure. Appearance guides investigation; it does not prove the cause.
Separation at a material / adhesive interface, a split within the adhesive and failure of the substrate describe different observations. Photograph both sides and mark the location and direction of loading.
Check surface condition, coverage, joining time and pressure against the agreed process. Change one variable at a time and keep a reference sample. A failure appearance can guide investigation but does not prove a single cause.
Build your application briefCheck geometry and timing together.
Mark where lifting begins and when it appears. Compare with the reference process.
Mark where lifting begins and when it becomes visible. A curved or tensioned component can load the edge differently from a flat laboratory specimen.
Compare edge coverage, actual contact, joining time and pressure with the reference process. Record material spring-back and any later heat exposure. Investigate one change at a time rather than assuming that more adhesive will solve the problem.
Build your application briefNo matching guides. Try another term or select “All”.
Test setup and method suitability are agreed for the application. General guidance for application discussions. Processing instructions and performance criteria are confirmed for the selected adhesive and your actual materials.
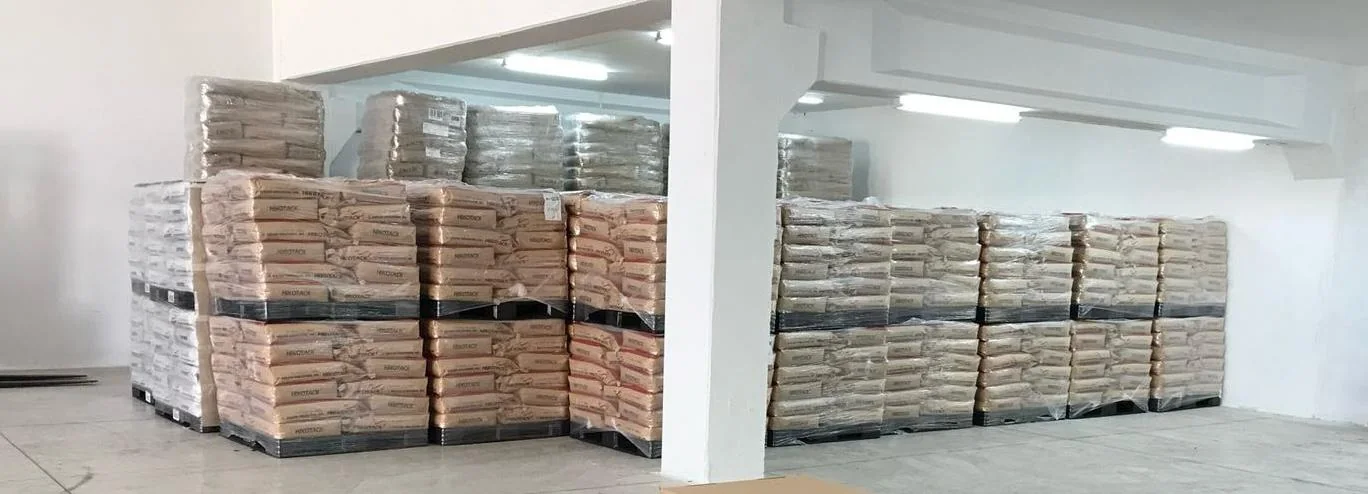
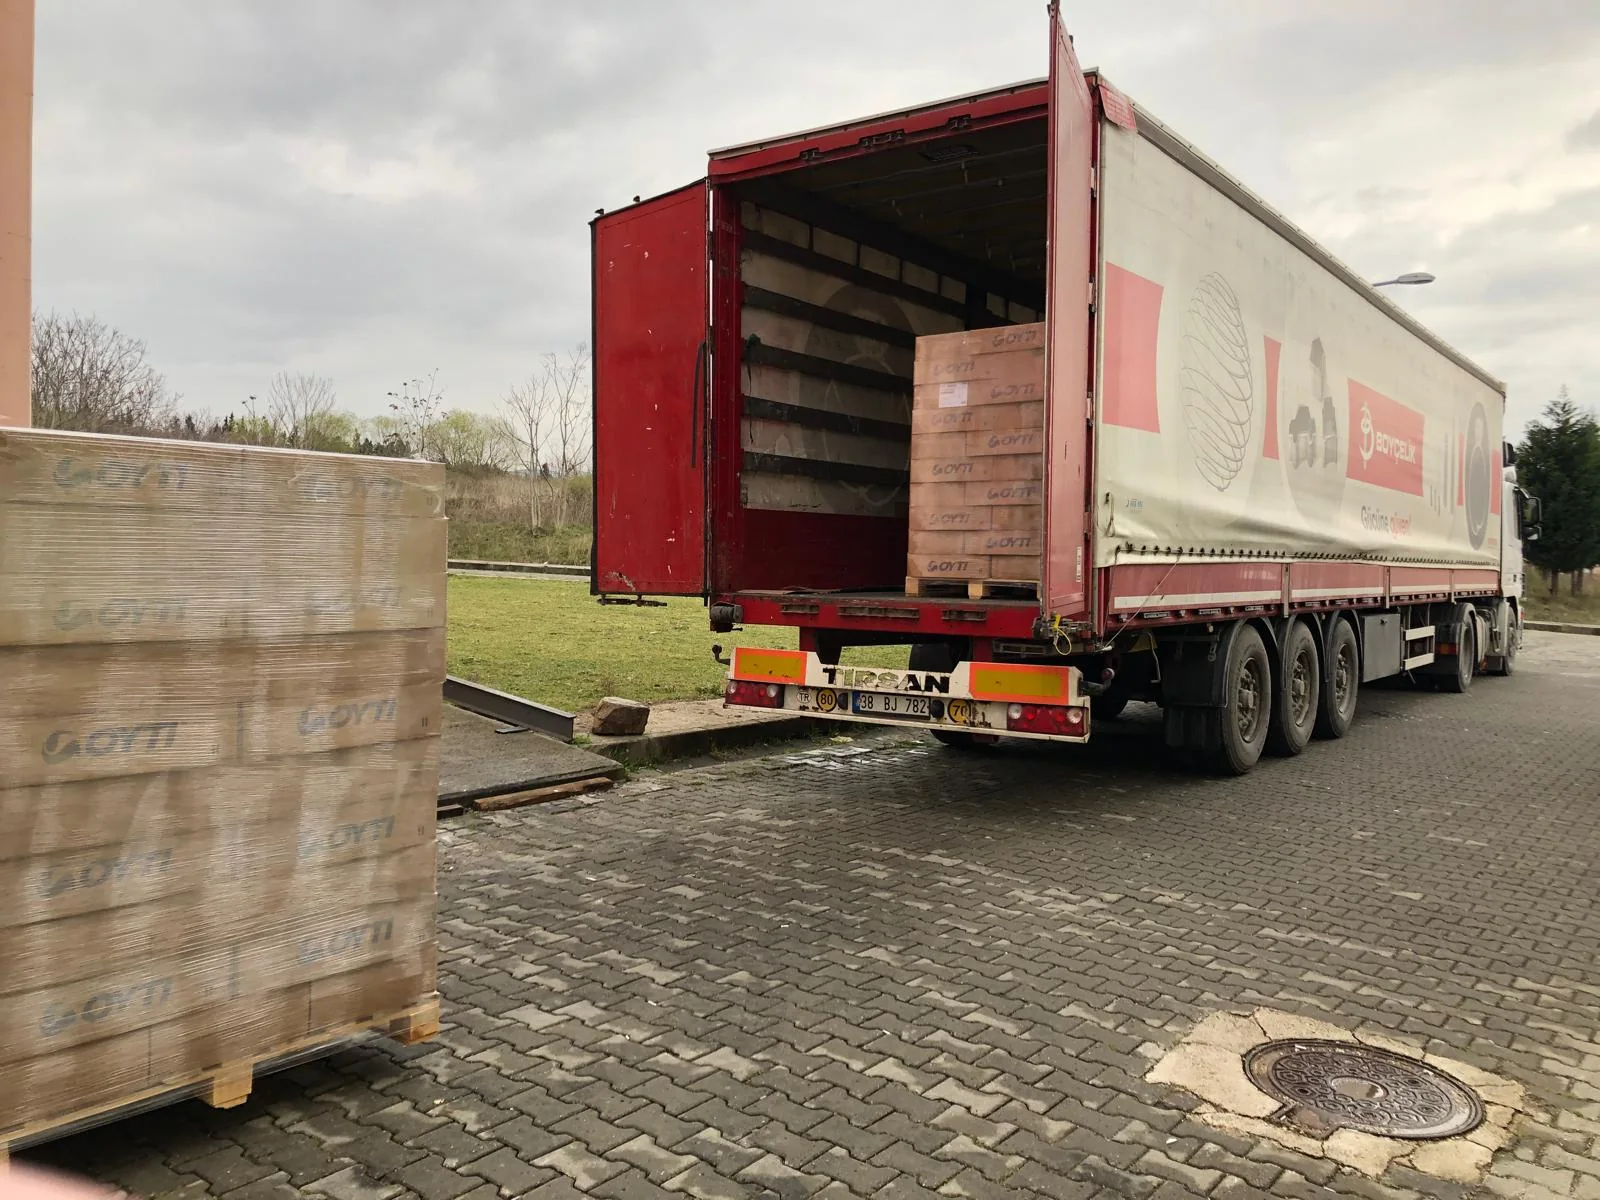
FROM KNOWLEDGE TO DELIVERY
Choosing an adhesive is only the beginning. Storage conditions, handling and delivery help connect the selected grade with its use on your production line.